1. Create your first cover
Install the plugin, import a preset, generate your first cover
By the end of this step you’ll have automatically generated covers appearing on every fic you download — no manual work per fic required.
1. Install Generate Cover
Generate Cover is a separate Calibre plugin. Install it from Calibre’s preferences:
Preferences → Plugins → Get new plugins, search for “Generate Cover”, install, and restart Calibre.
2. Import your starter preset
To get you started I have prepared a preset and alternate coloured images. The design is very loosely inspired in Penguin Classics. It’s meant to be a clean, simple design that prioritizes legibility above all. Feel free to use the images as you wish.
Download the files
There are two downloads. They serve different purposes:
-
Classics preset Import this ZIP into Generate Cover. It contains the preset settings and the default grey background with a generic book symbol.
-
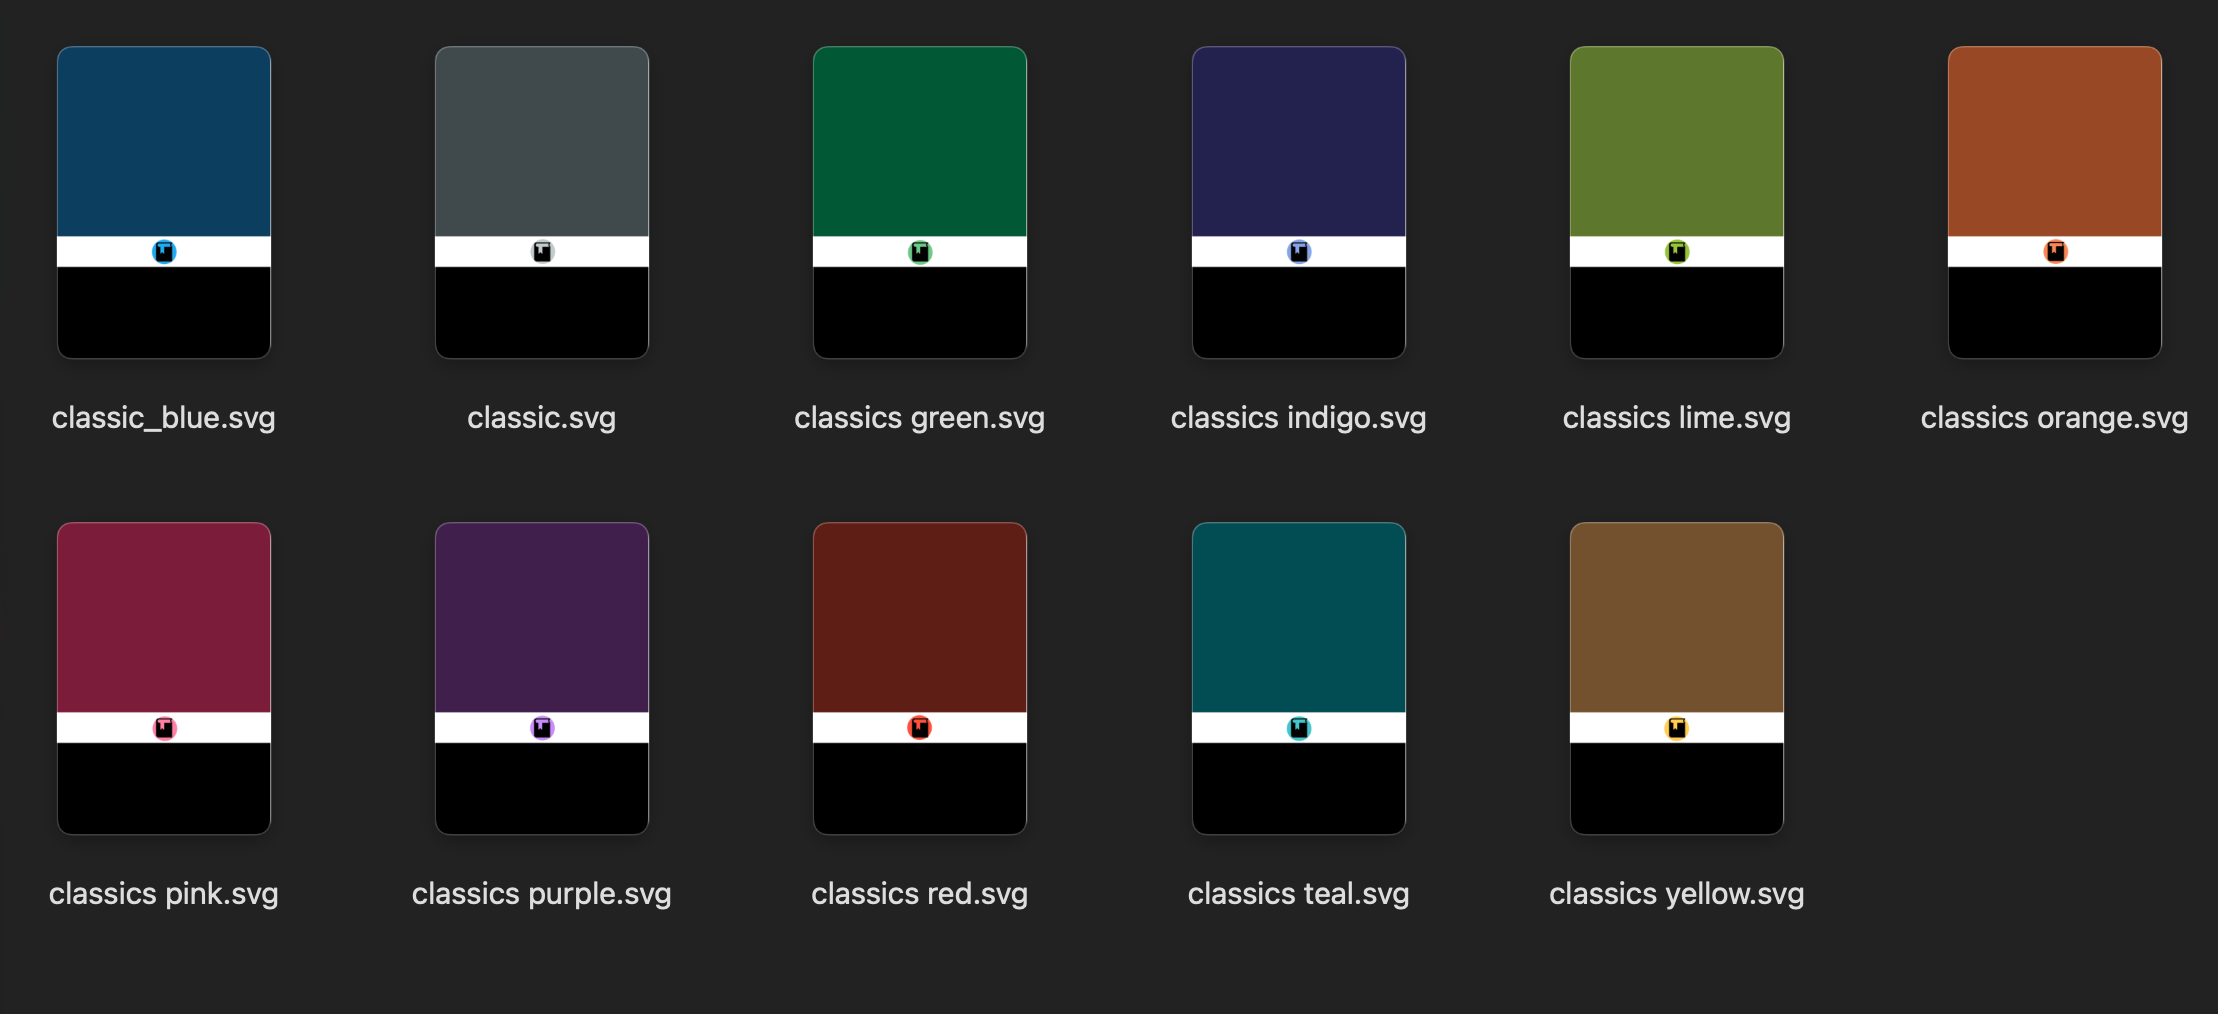
Alternative colour backgrounds This optional ZIP contains SVG background images in several colours. Extract or unzip it before using the images. Do not try to import this ZIP as a Generate Cover preset.
classics_preset.zip is a complete Generate Cover preset and should be imported from the Settings tab. The files inside wordsandpics_classic_covers.zip are individual background images. Unzip that file and select an SVG from Generate Cover's Select Image tab.
The supplied backgrounds use a generic book symbol. Fandom symbols shown in screenshots of my personal library are part of my own customised presets; they are not automatically detected or included in the download. Step 2 explains how to make separate presets for different fandoms.
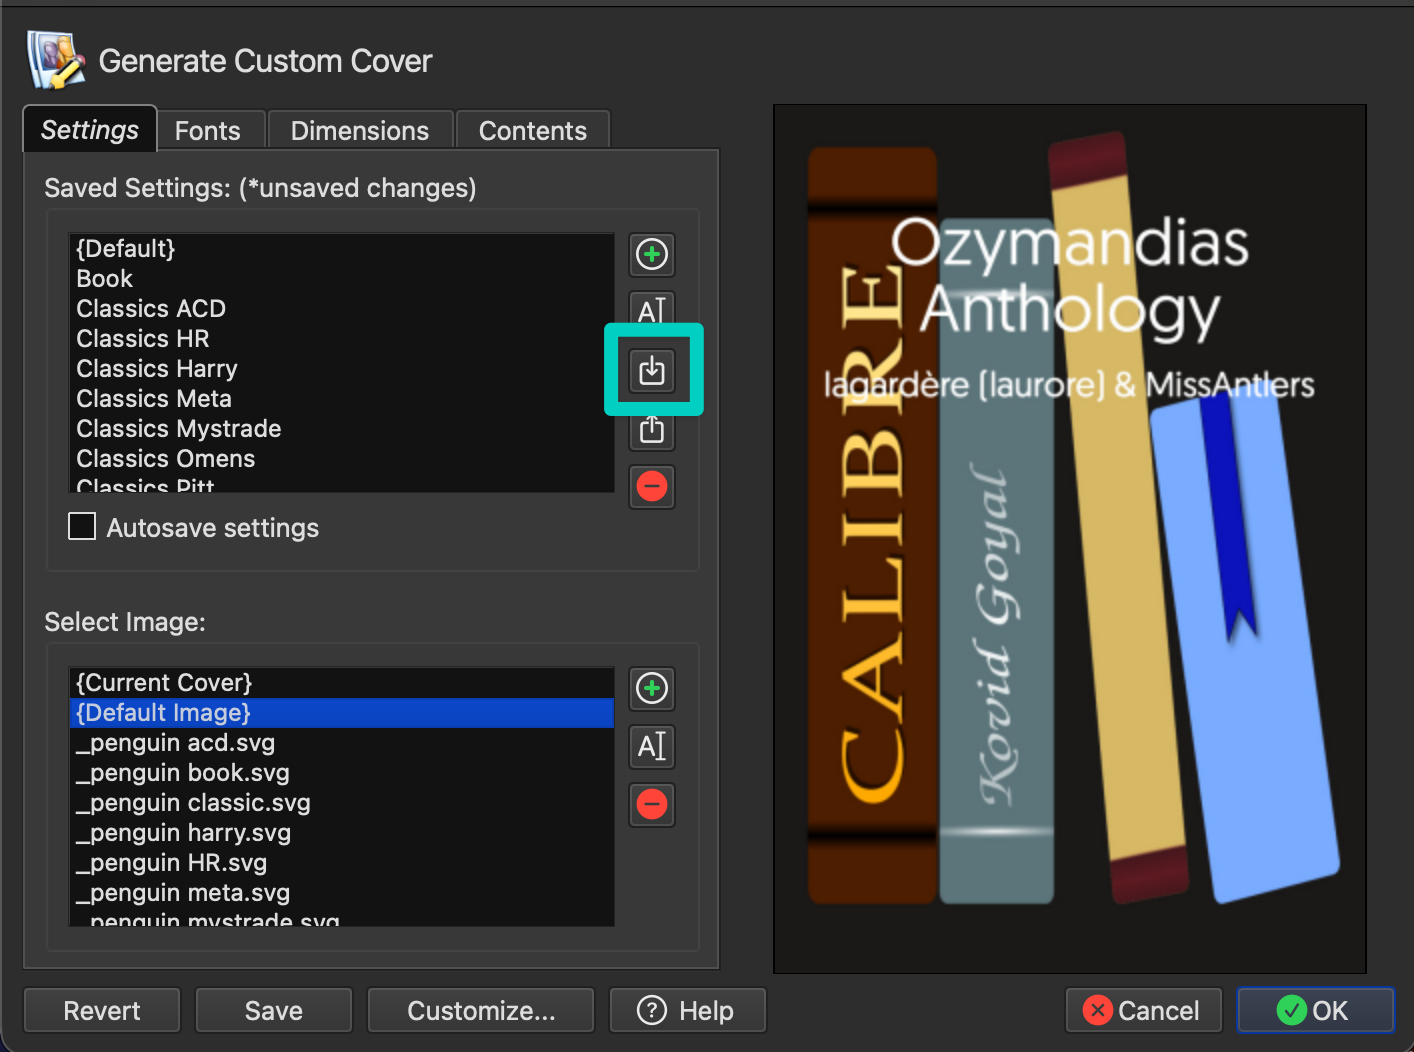
Import the starter preset
- Open Generate Cover from Calibre’s toolbar.
- Open the Settings tab.
- Next to Saved Settings, click the import button—the arrow pointing inward.
- Select the downloaded file named
classics_preset.zip. - When asked for a name, enter Classics or choose another name you will recognise.
- Confirm that the preset now appears in the Saved Settings list.
The preview should now show the grey starter cover with the generic book symbol.
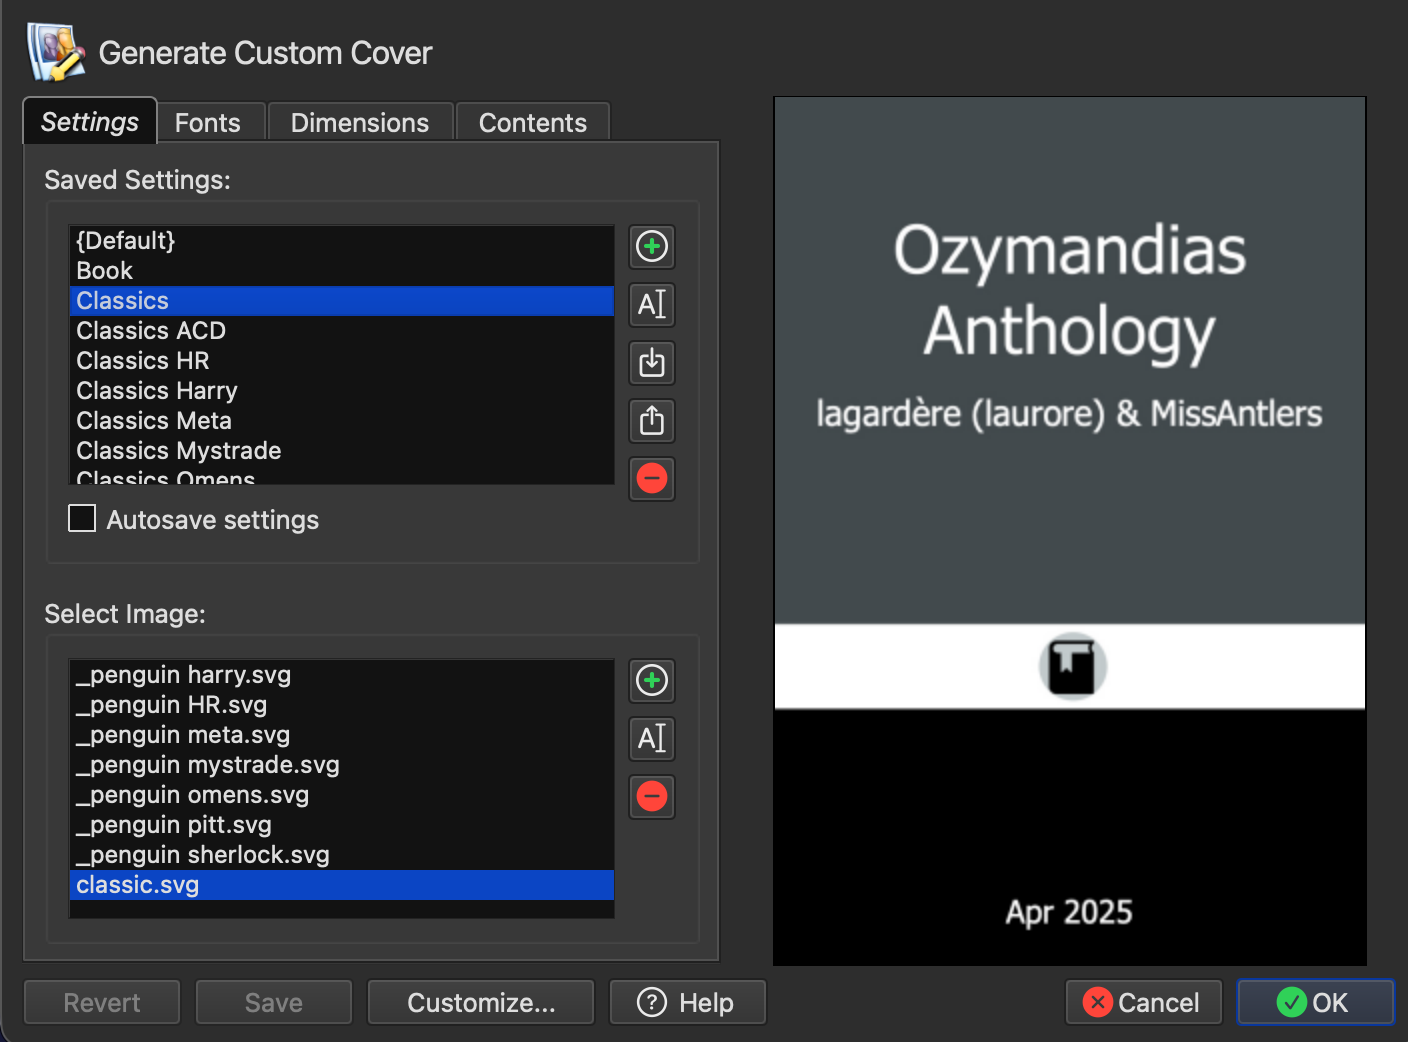
Use a different background colour
The colour backgrounds are images, not presets:
- Find
wordsandpics_classic_covers.zipin your Downloads folder. - Extract or unzip it.
- In Generate Cover, select the Classics preset.
- Open the Select Image tab.
- Add or choose one of the extracted
.svgfiles. - Return to Settings and save the preset.
To keep several colour versions, duplicate or rename the preset before changing its image—for example, Classics Blue or Classics Green.
Saving and selecting a preset
Saving stores your design changes under a preset name in Generate Cover. Selecting chooses which saved preset Generate Cover should use. Select a preset inside Generate Cover when you want to preview or edit it; select it in FanFicFare’s Calibre Cover table when you want FanFicFare to use it automatically. After editing a preset, return to Settings and save it before testing a download.
What’s in the preset
Here’s a brief tour of the four tabs so you know what you’re working with.
Fonts
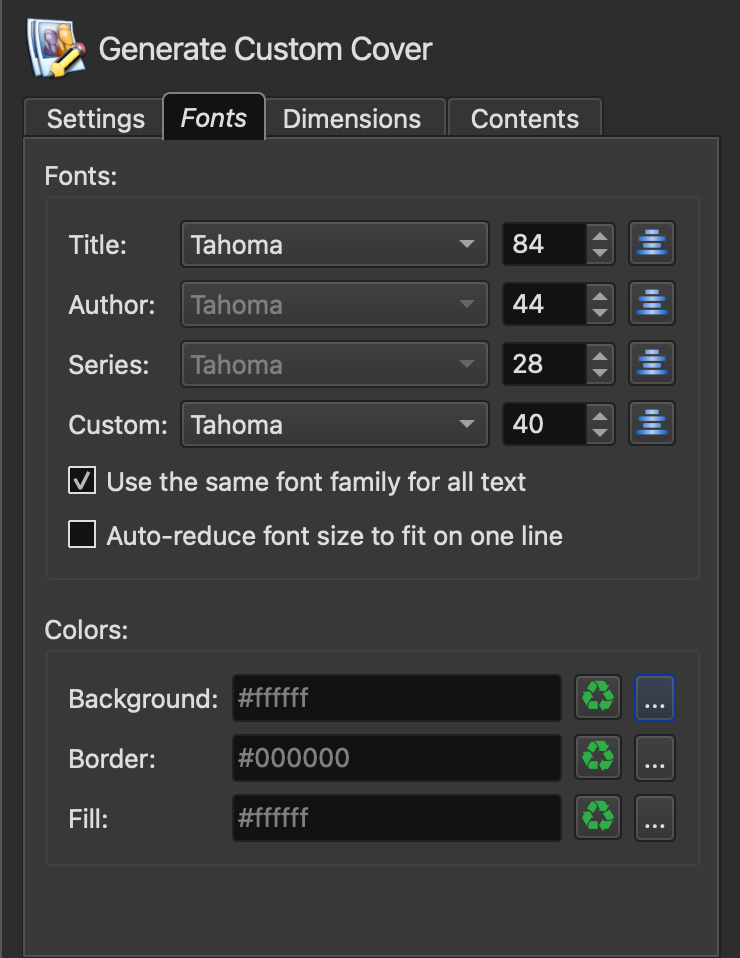
This preset uses Tahoma, just for wide availability. Text is white. The Use the same font family for all text option is checked, so if you want to change the typeface you only need to change it in one place. You can customise this any way you want, but be aware: there seems to be a bug and not all fonts will appear in the menu or work. Test your way forward.
Dimensions
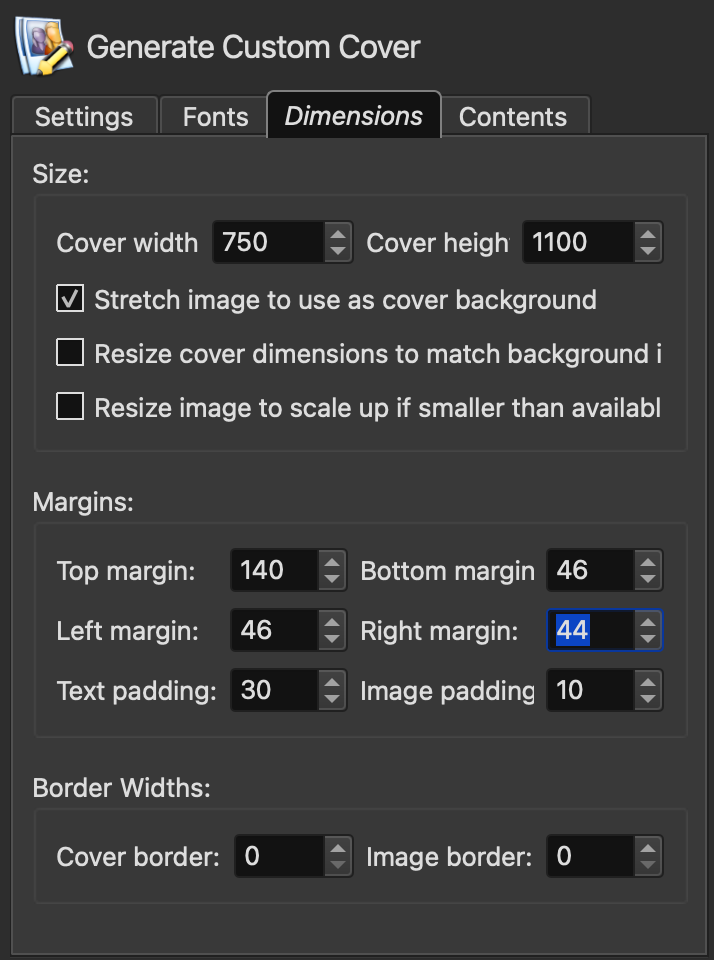
Covers are generated at 750 × 1100 pixels, a standard ebook portrait ratio. The background SVG is stretched to fill the cover area. You don’t need to change anything here. But you can tweak the margins if needed.
Contents
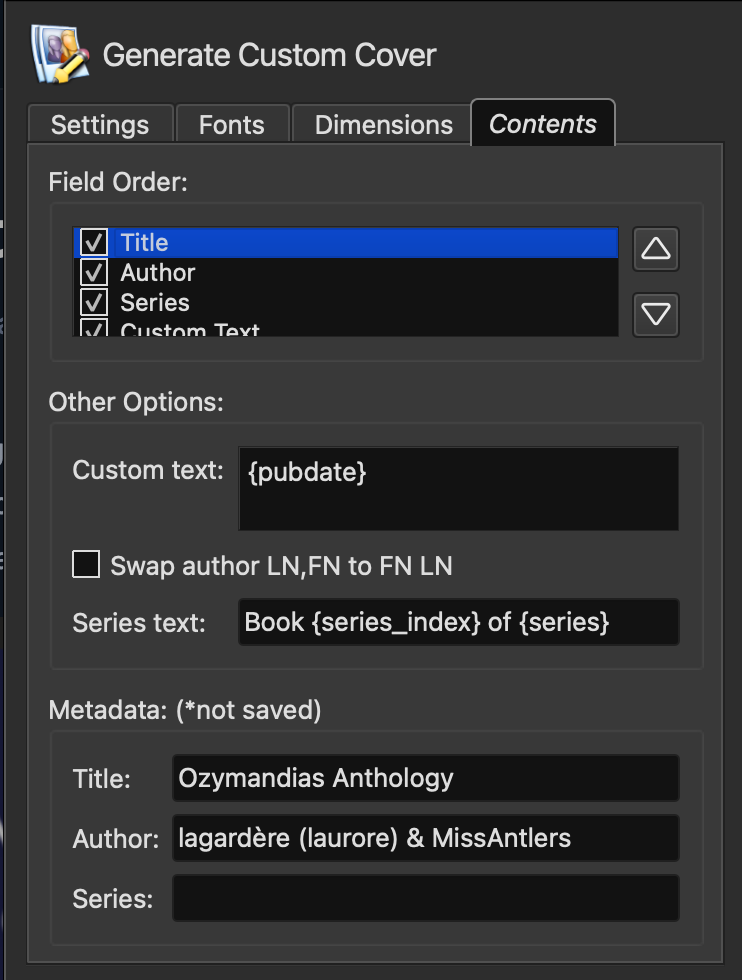
Four elements are displayed in this order: title, author, series (only appears if the fic is part of a series),and custom text. The custom text field is set to {pubdate}, which pulls the publication date.
This is the minimum useful cover: you know what the fic is, who wrote it, when it was published, and whether it’s part of a series. It all uses standard data that every fic already has. In the next parts of the tutorial we’ll add more useful information to covers using custom columns and FanFicFare automation.
3. Configure automatic cover selection
FanFicFare decides whether to generate a cover each time it downloads or updates a fic. Generate Cover then uses a saved preset—your complete design, including its image, fonts, and text—to make that cover. In this first setup, FanFicFare uses one preset, Classics, as the default for every fic that needs a generated cover. Later, you can add rules that choose different saved presets for different fandoms or tags.
In Calibre, open the FanFicFare plugin settings and go to the Calibre Cover tab.
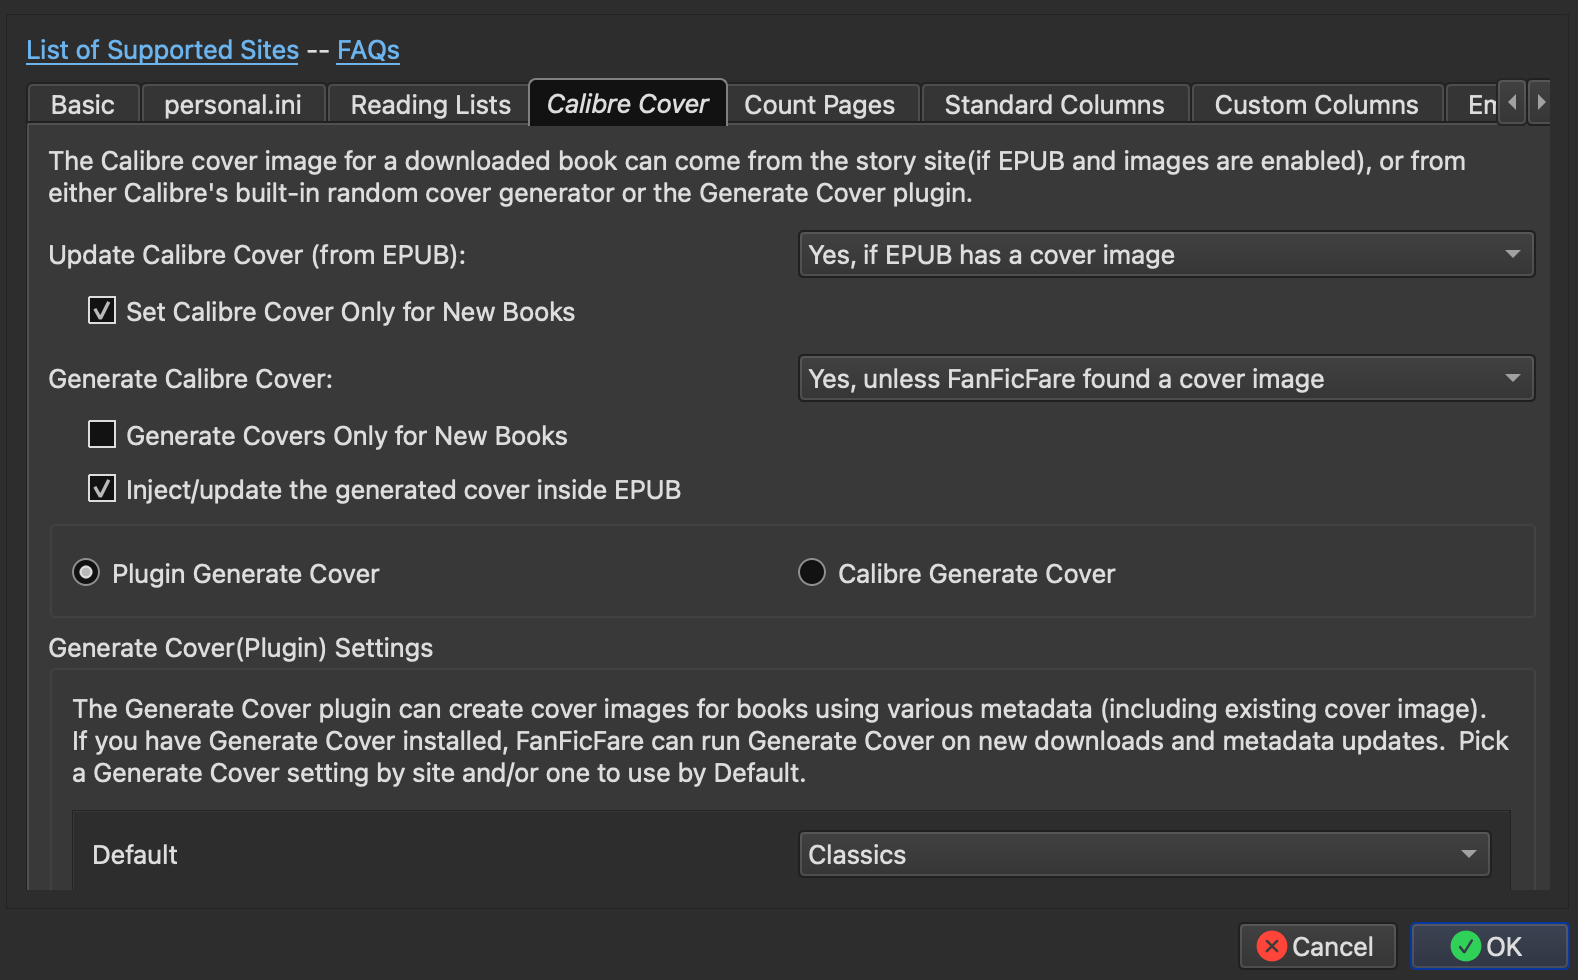
Two settings to check:
- Generate Calibre Cover: choose Yes if you want this generated preset to replace every cover, including a cover image FanFicFare finds on the source site. Choose Yes, unless FanFicFare found a cover image if you want to keep any source cover image and generate this preset only when the story has no cover.
- Select Plugin Generate Cover (not “Calibre Generate Cover”)
In the table below, find the Default row and select Classics from the dropdown.
Click OK.
4. Test it
Download any fic from AO3. When it completes, you should see a generated cover in the book details panel — your chosen color background, title, author, publication date.
- The preset will not import: make sure you selected
classics_preset.zip, not the colour-background ZIP. - The colour ZIP will not import: this is expected. Extract it first, then select an individual SVG from the Select Image tab.
- The cover still shows a book symbol: the supplied backgrounds use that symbol. Fandom symbols require background images that you provide yourself.
- No generated cover appears: check that the Default row in FanFicFare's Calibre Cover settings points to your saved preset. You can also select a book and run Generate Cover manually to test the preset.